Featured Colors
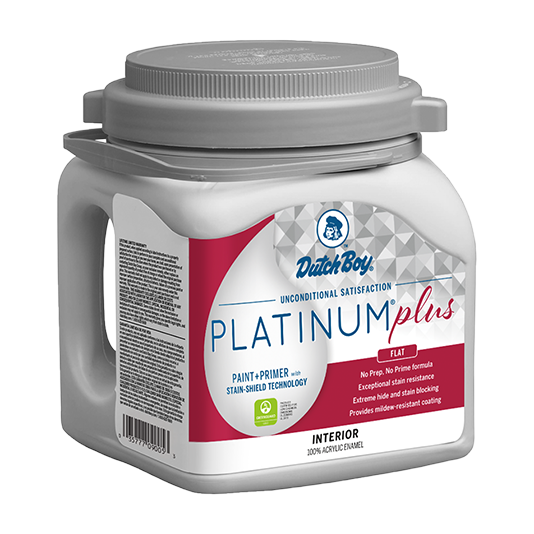
We used the product above. But you can view more Wall & Trim or Ceiling products.
Additional Supplies
- Purdy® angled paintbrush
- Purdy® woven roller cover and roller frame
- Purdy® mini woven roller cover and roller frame
- Purdy® paint tray and liners
- Stencil design and instructions (see download)›
- Painter's tape
- Level
- Tape measure
- Pencil
- Drop cloth
- Clean, damp cloth
Available Exclusively at Menard’s
Free store pickup where available.
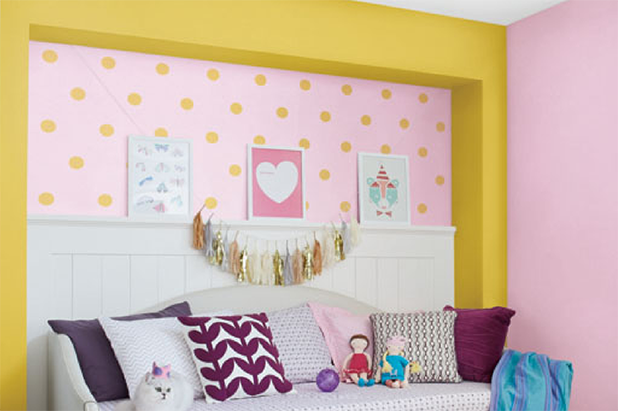
Step 1:
Wipe wall with clean, damp cloth to prepare painting surface.
Step 2:
Lay down the drop cloth to protect floors; use painter's tape to cover trim, molding, ceiling and the edges of any adjacent walls.
Step 3:
Using the angled brush, apply base color just inside the taped areas and then paint the remaining area with the woven roller.
Step 4:
Remove painter's tape while paint is still damp; allow paint to dry 24 hours.
Step 5:
Using the tape measure, find the center of the wall and lightly mark with the pencil; center the stencil over the pencil mark; use the level to ensure that the stencil is straight and secure it in place with painter's tape.
Step 6:
Make light pencil marks around each corner of stencil to help align the next placement.
Step 7:
Using the mini foam roller, apply the second color over stencil; carefully lift stencil after paint application and wipe down after each use.
Step 8:
Line up edge of stencil with the pencil marks from Step 6; repeat until reaching adjacent walls, ceiling and baseboard.
Step 9:
Allow paint to dry, following suggested drying time on the can label.
Show off your project.
Were you inspired by one of our ideas? We’d love to see. And share. Tag @dutchboypaints on Instagram to have your project featured.