Featured Colors
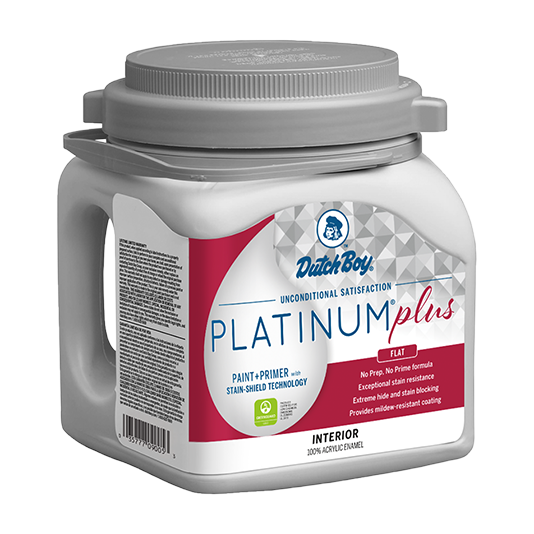
We used the product above. But you can view more Wall & Trim or Ceiling products.
Additional Supplies
- Purdy® angled paintbrush
- Purdy® woven roller cover and roller frame
- Purdy® mini woven roller cover and roller frame
- Purdy® paint tray and liners
- Glaze
- Mixing pail and paint stir stick
- Painter's tape
- Tape measure
- Pencil
- Level
- Drop cloth
- Clean, damp cloth
Available Exclusively at Menard’s
Free store pickup where available.
Step 1:
Wipe wall with the clean, damp cloth; lay down the drop cloth; affix the painter's tape to baseboards, ceiling and any molding or trim.
Step 2:
Use the angled brush to apply paint just inside the taped areas, then paint remainder of the wall with the woven roller; remove painter's tape while paint is still damp; allow paint to dry 24 hours.
Step 3:
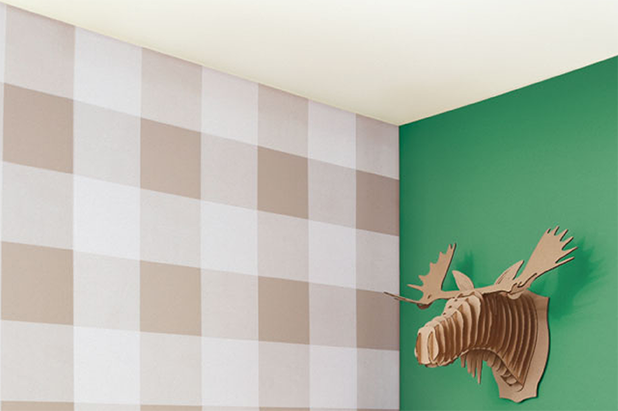
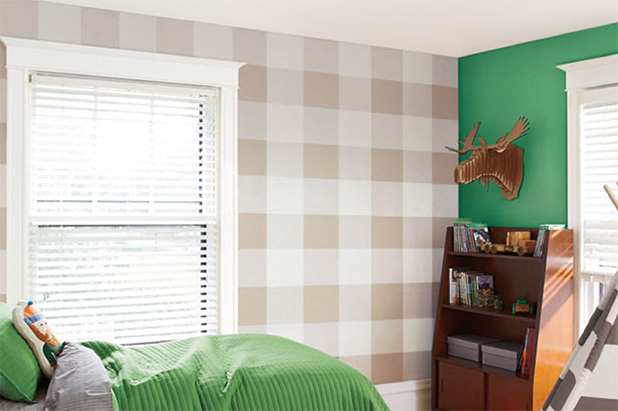
Decide on the size and scale of the check pattern; using the tape measure and pencil, lightly make marks at each measurement interval along the bottom of the wall, starting at the center and working outward.
Step 4:
Use the level and pencil to lightly mark vertical lines the height of the wall.
Step 5:
Once the stripes are sketched, starting at one end, place a small piece of painter's tape within the stripe nearest to the corner; from there, place a piece of painter's tape inside every other stripe; the unmarked stripes are the areas in which you'll apply the paint-glaze mixture (see Step 7).
Step 6:
Affix the painter's tape along the vertical lines, making sure the edge of the tape is positioned against the outside of the lines on each side of the unmarked stripes; affix painter's tape to ceiling and trim for each stripe to be painted.
Step 7:
Mix one part paint with four parts glaze; use the mini foam roller to paint between the taped areas of unmarked stripes; use the angled brush along corners; roll as close to ceiling and trim as possible and fill in gaps with brush.
Step 8:
Remove painter's tape while paint is still damp; allow paint to dry for 24 hours.
Step 9:
Repeat steps 4 through 8 to create the horizontal stripes.
Show off your project.
Were you inspired by one of our ideas? We’d love to see. And share. Tag @dutchboypaints on Instagram to have your project featured.