Begin surface prep for painting by removing any loose, peeling paint with a paint scraper and sandpaper. Sand all edges to smooth the surface and help the new paint adhere. Scrub all surfaces with a mild detergent and a sponge or rag to remove dirt, grease and oil. Rinse surface well and allow to dry. Spot priming will help new paint adhere and give a better finished look.
Remove cracked or peeling paint.
Fill holes and cracks.
Brush the area clean. If patching wood, use your finger or a putty knife to fill nail holes or very small cracks with wood filler. For plaster and drywall, use a non-shrinking joint or spackling compound. Using a putty knife, apply a thin skin of filler over the patched area. After patch is dry, sand it smooth. Wipe with a damp cloth to remove dust, then spot prime to create a uniform surface and help the new paint adhere.
Fill larger holes and cracks. For holes and cracks larger than a nail hole, cut two pieces of self-adhesive mesh joint tape, making sure the pieces are larger than the hole. Center the two pieces in the shape of an "X" over the hole and press firmly into place. Cracks usually require a single piece of joint tape. Using a putty knife, cover the mesh with one or more layers of joint compound. When the material is dry, sand smooth and spot prime.
Remove wallpaper.
Start by using a scoring tool to create holes in the paper. Then use a paste remover or power steamer to re-wet the paste behind the paper. Use a scraper to remove loose wallpaper. After wallpaper is removed, wash the wall with a paste remover to remove any leftover sizing or paste. For stubborn patches of paste, try a bristle brush or mesh scrubber. Once the paper and paste are off, prime the bare walls. An oil-based primer is preferred over a latex-based primer because it prevents any remaining paste from bleeding through the finished coat. An oil primer is also the best choice if the wallpaper is on so firmly that you can't remove it.
Smooth sags, drips and runs.
Sand to smooth any sags, drips or runs. Use a damp, lint-free cloth to remove sanding dust.
Repair water or smoke damage.
After the cause of the damage has been corrected, use a primer-sealer designed for stain blocking. Before you begin priming, do a water test on an area of the ceiling that's not damaged. Apply water with a spray bottle. If the water beads, spot-prime the damaged area only. If the water absorbs, you'll want to prime the entire ceiling. Read the product label to make sure the primer is recommended for your type of stain. Stain-blocking primers are available in both alkyd and latex-based versions. While both work to block water and smoke stains, the alkyd stain blocker will usually seal water stains better because it doesn't contain water that could re-wet the stain. You may still see a stain through the stain blocker, but it’s designed to lock in the stain to prevent it from bleeding through into the topcoat. Make sure the primer is thoroughly dry before you apply the topcoat.
Tips
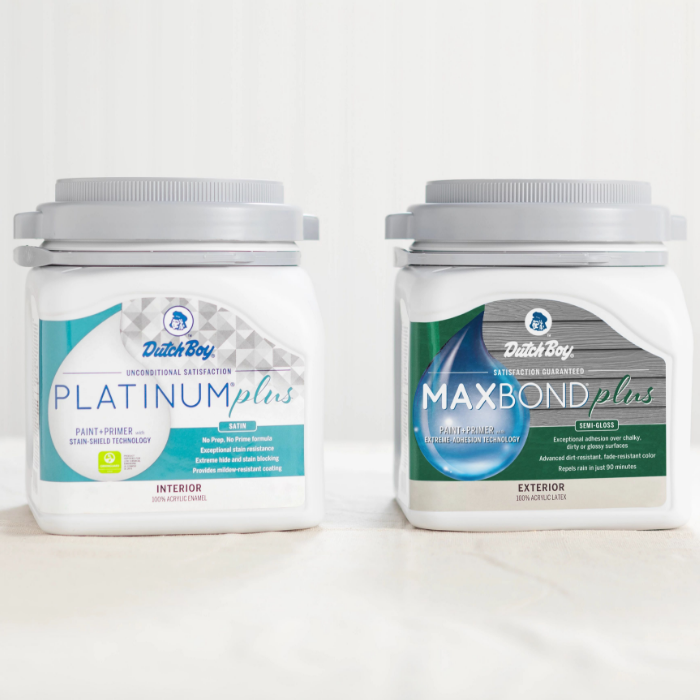
Choosing the Right Paint
How to Clean
How to Get Organized